Converting a New Plan Member (NPM) to become a Qualified Beneficiary (QB) after they leave the company is an easy process.
Follow the step-by-step instructions below to learn how to convert NPMs. The system will automatically pull the (already known) data that is on file for the member, so there is less data entry to input and you don't have to create a new record.
Complete the following steps:
1. Open this link Ameriflex COBRA Portal and click the blue Employer Login button to access your account.
The home page appears.
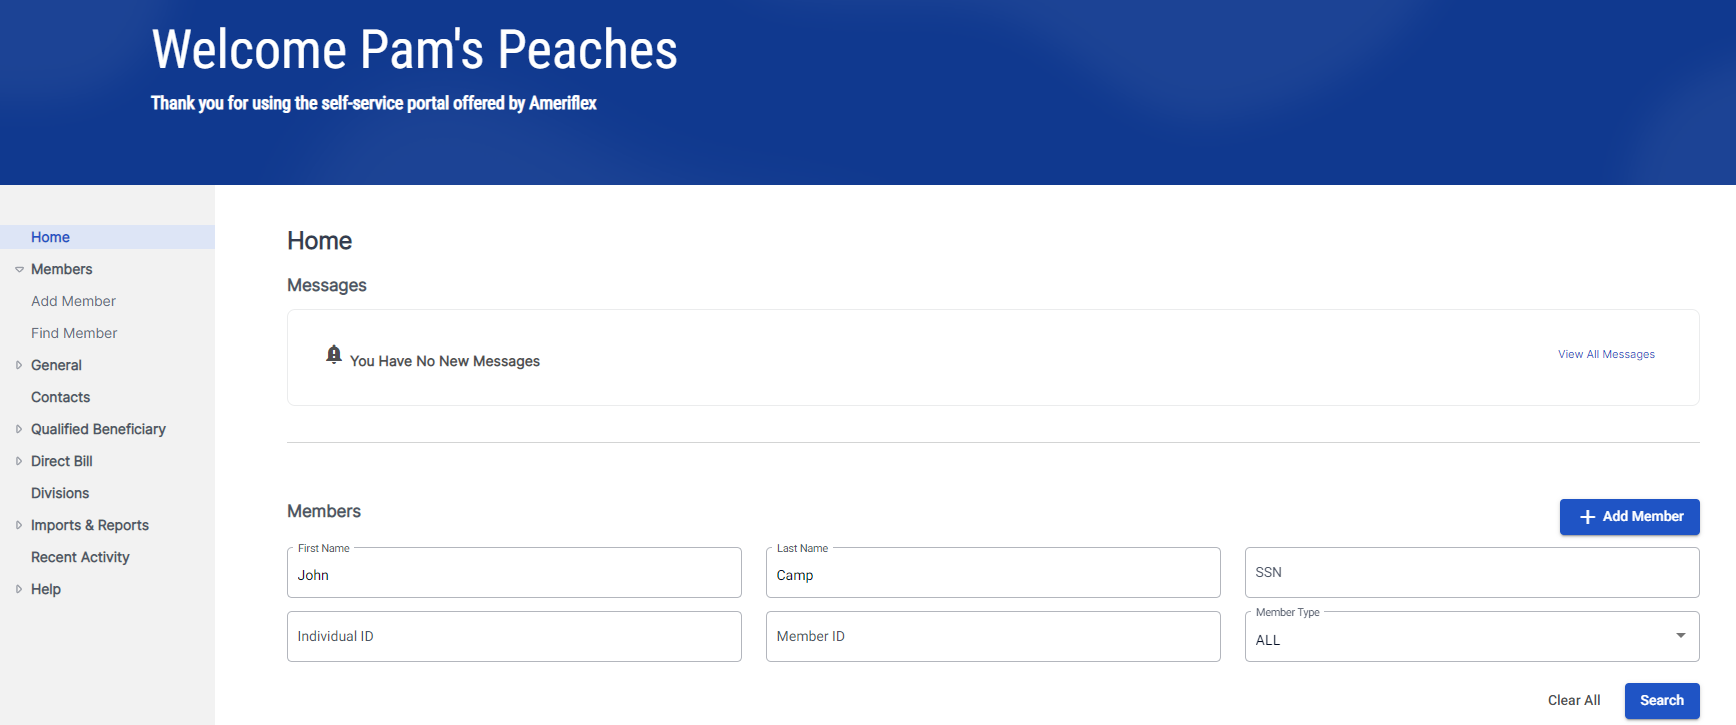
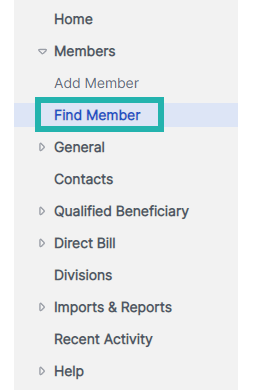
2. Locate and click the Members tab to the left of page.
3. Select Find Member from the drown-down menu.
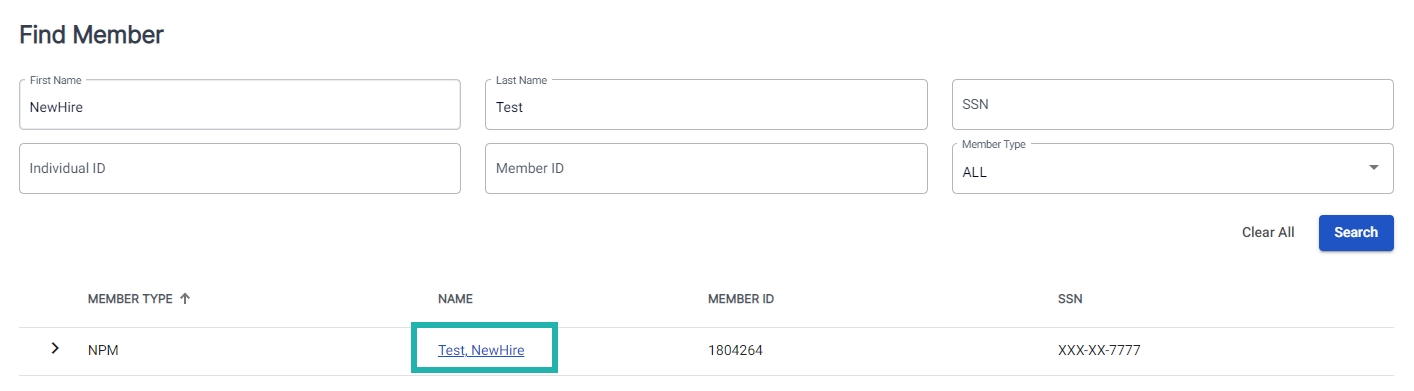
The Find Member page appears.
4. Search for members by entering their first name, last name, SSN, individual ID, member ID, and/or member type.
The desired member's profile name appears.
5. Select the member's hyperlinked name under the Name column.
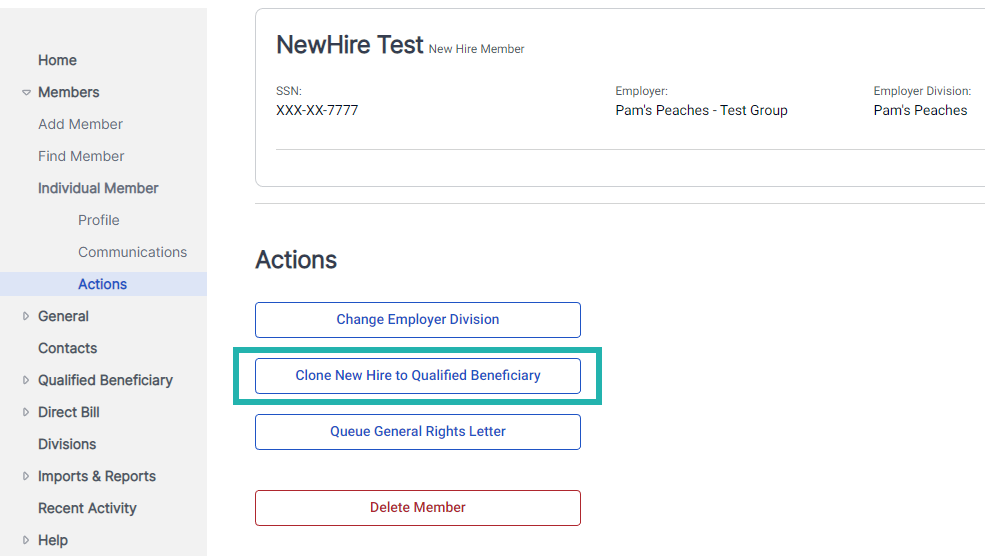
The individual member's profile appears.
6. Locate and select Actions from the menu on the left.

The Actions page appears.
7. Click the Clone New Hire to Qualified Beneficiary button.
The Profile Information page appears.
An alert message will appear, advising you to “Please confirm the mailing address for this cloned Qualified Beneficiary record is the last known address for this member.”
8. Click OK.
The Plan Information page appears.
9. Fill out the required fields on this page.

10. Click Continue.
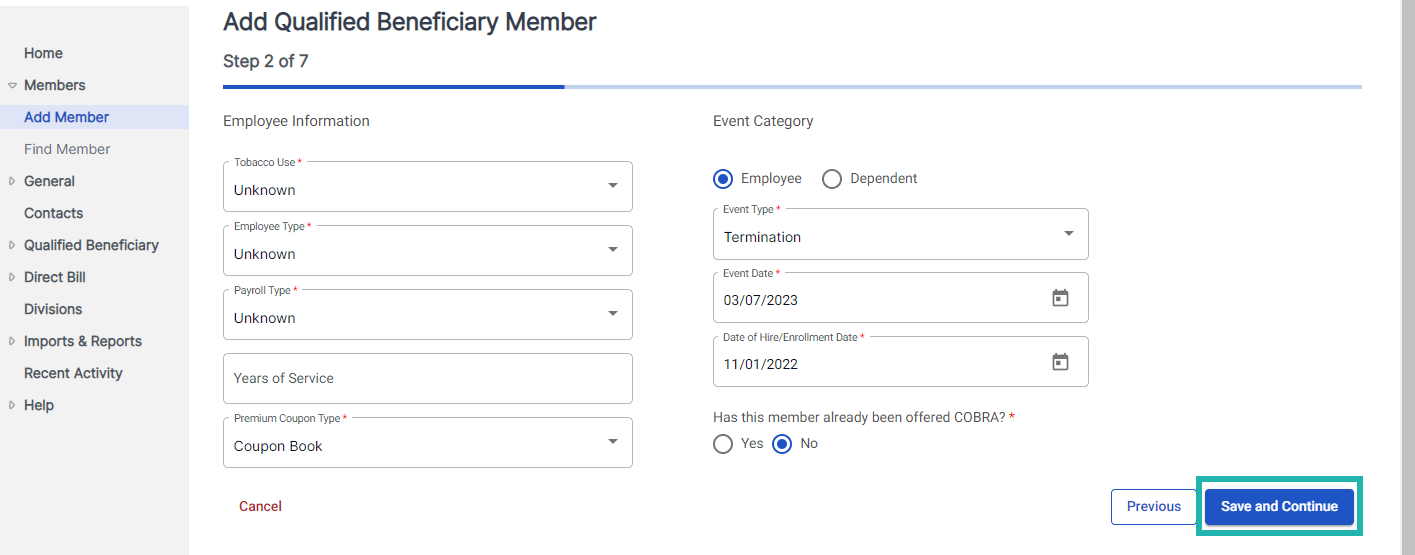
The Employee Information page appears.
11. Complete the required fields on this page.
12. Click Save & Continue.
The Plan Information page appears.
13. Select + Add Plan.
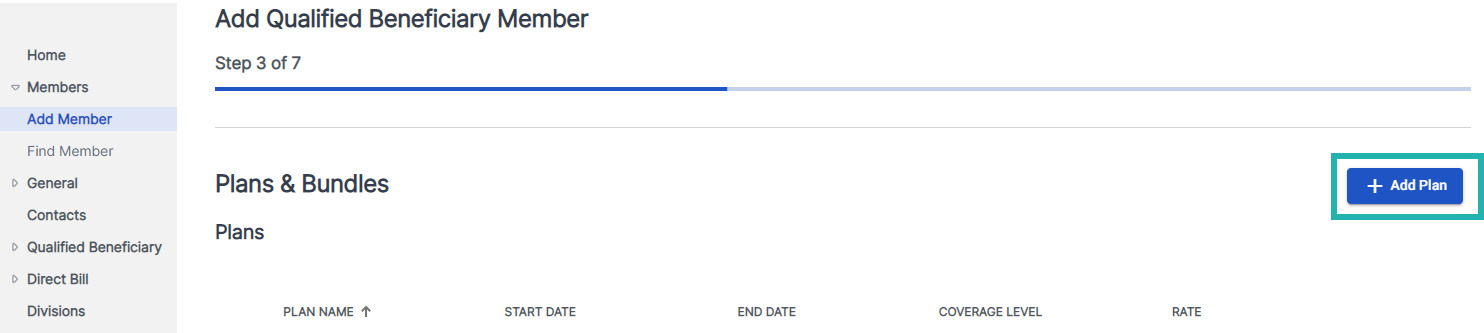
The Add Plan dialogue box appears.
14. Locate Plan, click the drop-down arrow, and then select Plans from the list. 
15. Locate Coverage Level, click the drop-down arrow, and then select the correct coverage level from the list.
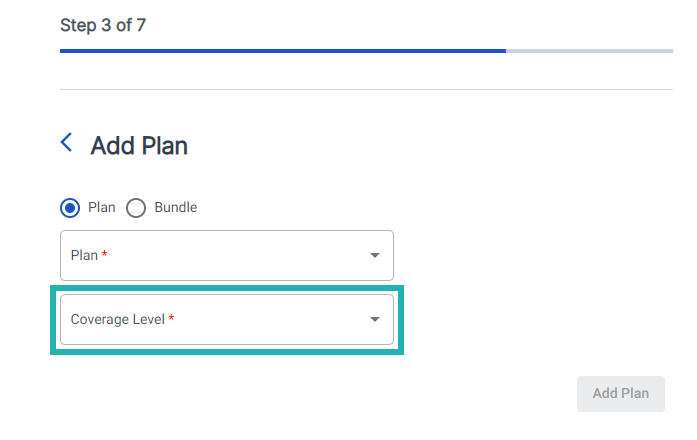
16. Select Add Plan.
17. Repeat steps 12 through 15 if you need to add additional plans.
18. Select Save & Continue when you are done adding all plans to the Plan Information page.
The Add Plan page closes and the Plans & Bundles page reappears.
19. Click Continue when you're done adding all your plans.
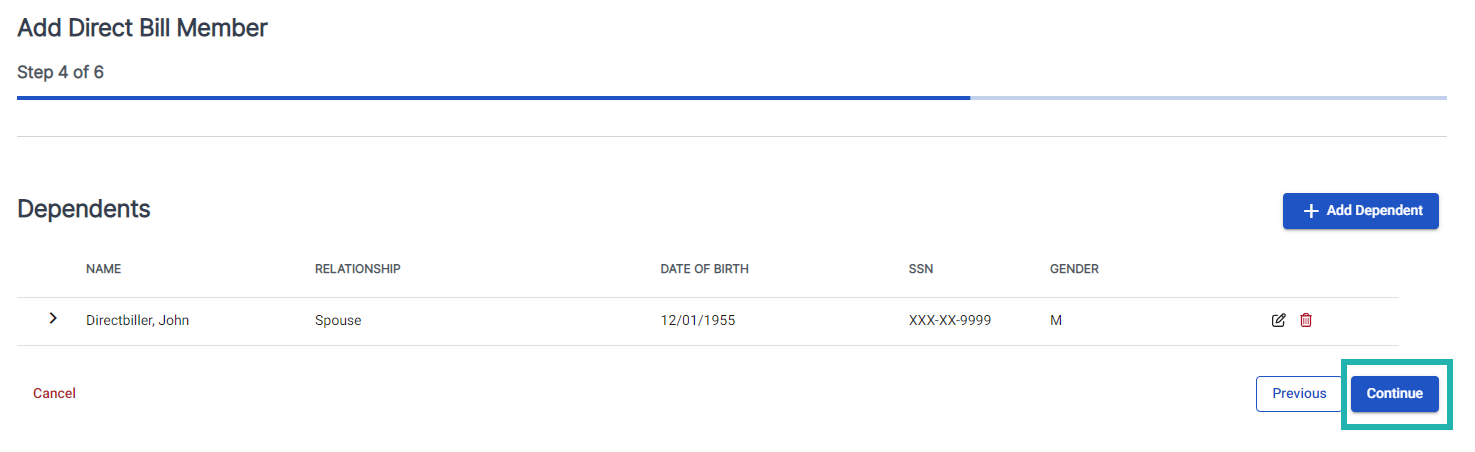
The Dependents pages appears.
20. Click the Add Dependent button to add any dependents to the plan.
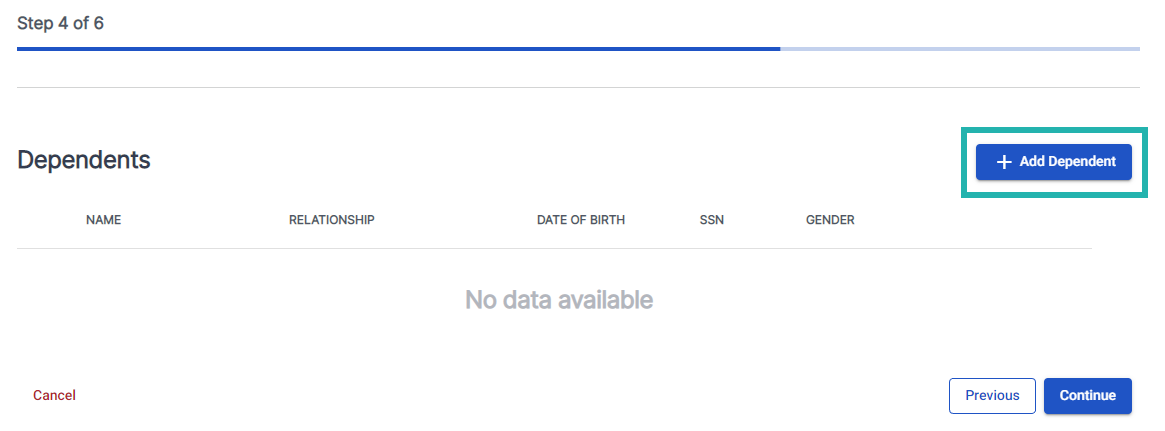
The Dependent Information page appears.
21. Fill in the required fields (marked by a red asterisk) and any other information.
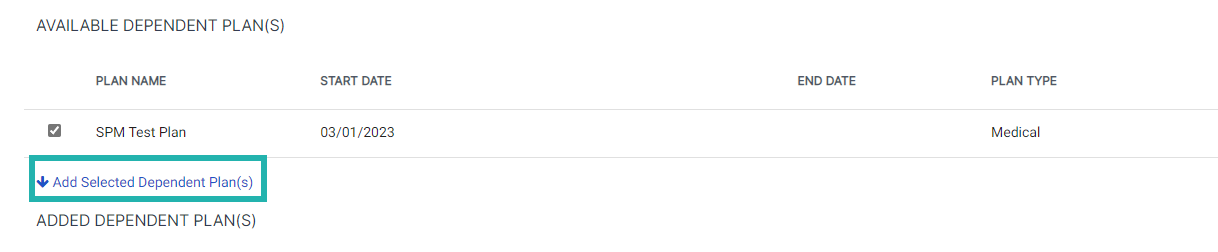
22. Click the down arrow icon + Add Selected Dependent Plan(s).
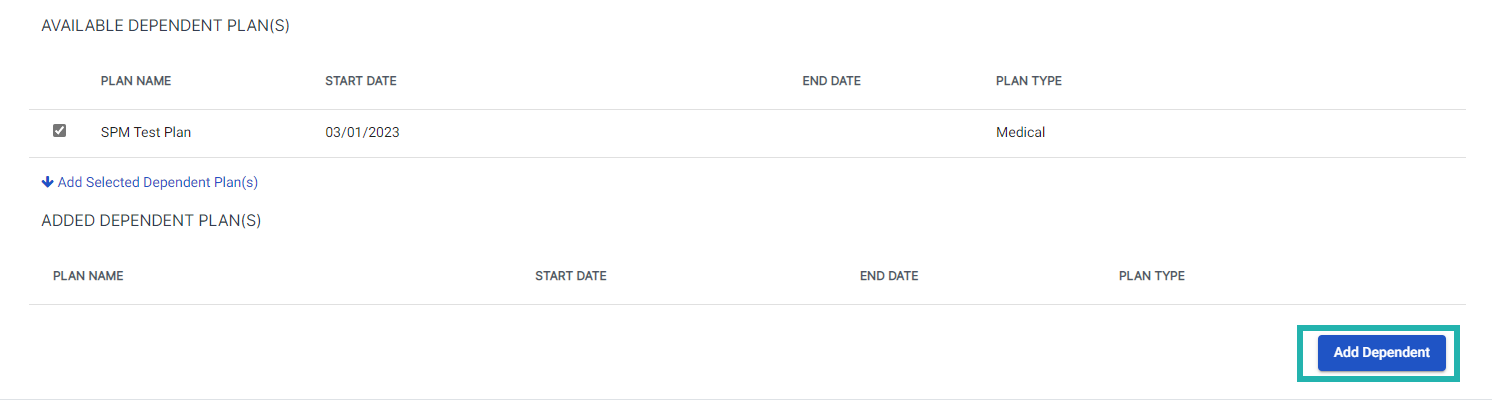
23. Click Add Dependent.
24. Repeat steps 15 through 18 if you need to add additional dependents.
25. Click Continue.
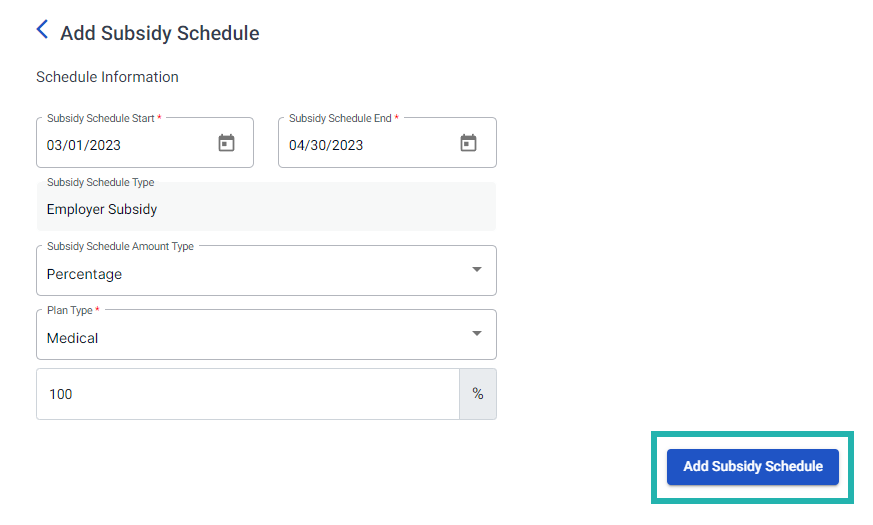
26. Click Add Subsidy Schedule if you want to add a subsidy.
.PNG)
27. Fill in the required fields (marked by a red asterisk) and any other information.
28. Click Add Subsidy Schedule.
29. Repeat steps 20 through 22, as needed.
30. Click Continue.

The Letter Attachments page appears.
31. Add the letter attachments on this page if you have custom letter attachments,
32. Click Add Member to complete the process if you do not have any letter attachments.

You successfully cloned a New Plan Member to a Qualified Beneficiary.
Related Links
- Enter a Legacy Qualified Beneficiary - Plan Administrator
- When a person terminates COBRA, is the broker or client notified?
- What is a Qualifying event?
- Does the coverage cancel if they don't pay? When?
- What dependent information is needed when entering a Legacy and/or Qualified Beneficiary
- Why is dependent information needed for Legacy and Qualifying Event Submissions?
- What is a General Rights Notice?