Use our Funding File and follow an easy two part process in the following sections to learn how to properly fill out the file, and then upload the file to Client Portal to post funds to your employees accounts, excluding HSAs.
Part One: Complete the Funding File (IH) for Enrollee Deposits
1. Login to your Ameriflex Employer Portal.
The home page appears.
2. Locate and select the Participant tab.

The Participant page appears.
3. Locate and click the ellipsis.
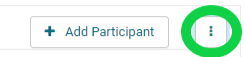
A dropdown menu appears.
4. Select Download blank account transaction file.
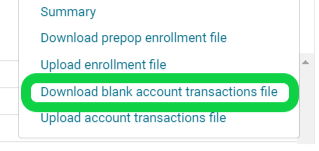
The file will be saved to your computer.
2. Open the downloaded spreadsheet.
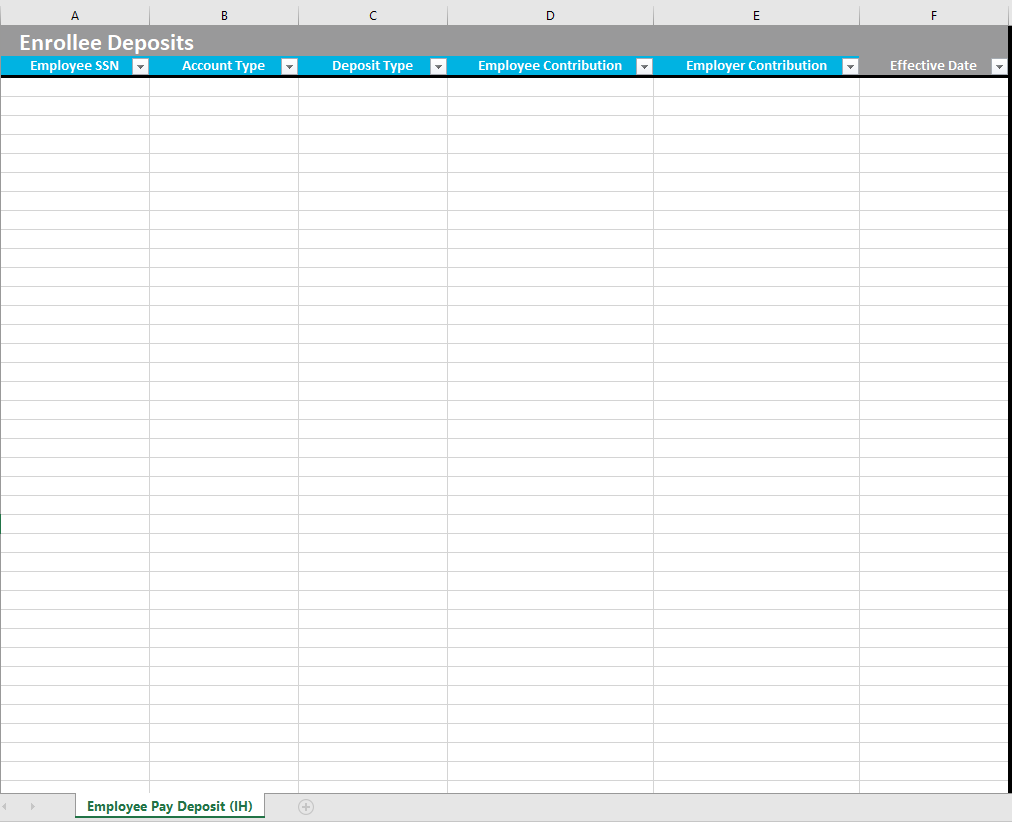
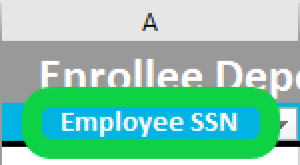
3. Below Column A - Employee SSN field, enter the employee's Social Security Number.
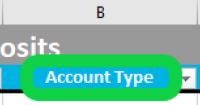
4. Below Column B - Account Type field, type one of the following acronyms: DCA, EPR, FSA, ICP, ICH, PKG, PKP, TRN, TRP.
Information: The following list is a description for the acronyms:
- DCA = Dependent Care Account
- EPR = Wage Parity Clients
- FSA = Flexible Spending Account
- ICP = Individual Coverage Monthly Health Reimbursement Account (ICHRA)
- ICH = Individual Coverage Health Reimbursement Account (ICHRA)
- PKG = Parking Account
- PKP = Post Tax Parking
- TRN = Transit Account
- TRP = Post Tax Transit
5. Below Column C - Deposit Type field, type the letter 'A' in the cell.

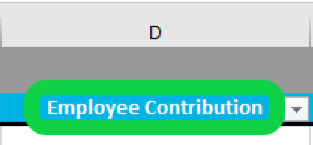
6. Below Column D - Employee Contribution field, enter the total contribution amount to be deposited for the employee.
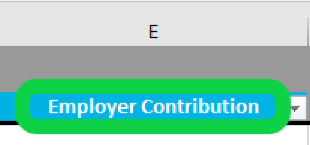
7. Below Column E - Employer Contribution field, enter the total contribution amount to be deposited for the employer.
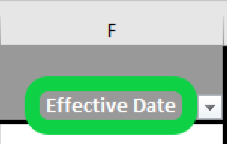
8. Below Column F and the Effective Date field, type the date you'd like the deposit to post.
9. Save the funding file to a secure location on your computer.
You successfully filled out and completed the (IH) Funding File for Enrollee Deposits. Continue to Part Two to learn how to upload the file in the Client Portal.
Part Two: Upload the completed IH funding file in your Client Portal
You must complete all the steps in Part One before you can proceed with the steps in this section to upload the Account Transaction file into the Ameriflex Employer Portal.
1. After logging into the Client Portal, locate and select the Participant tab.
2. Click the ellipsis and select Upload account transaction file.

3. Fill out the Plan Year Start Date and Plan year End Date fields with the appropriate dates.
Here's an example: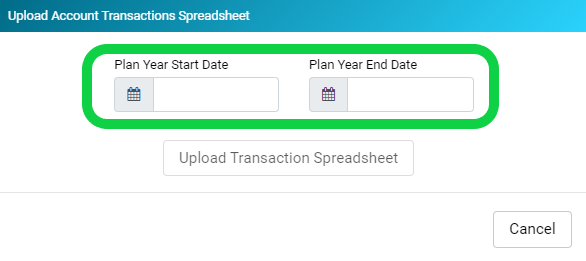
4. Click Upload Transaction spreadsheet. 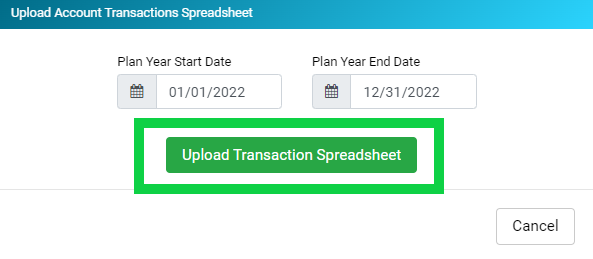
5. Locate and select the completed the (IH) Funding File from your files to upload the file to the portal.
An Information box appears.
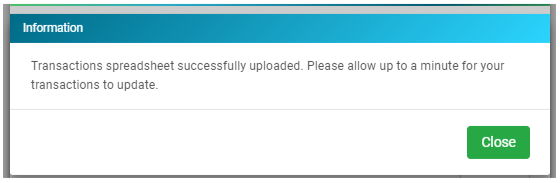
6. Click Close.
You have successfully uploaded the completed funding file to the Client Portal.