To add a subsidy to an existing member's account:
1. Log in to the Ameriflex Portal.
2. Click on the Participants tab on the left-hand side of the screen.
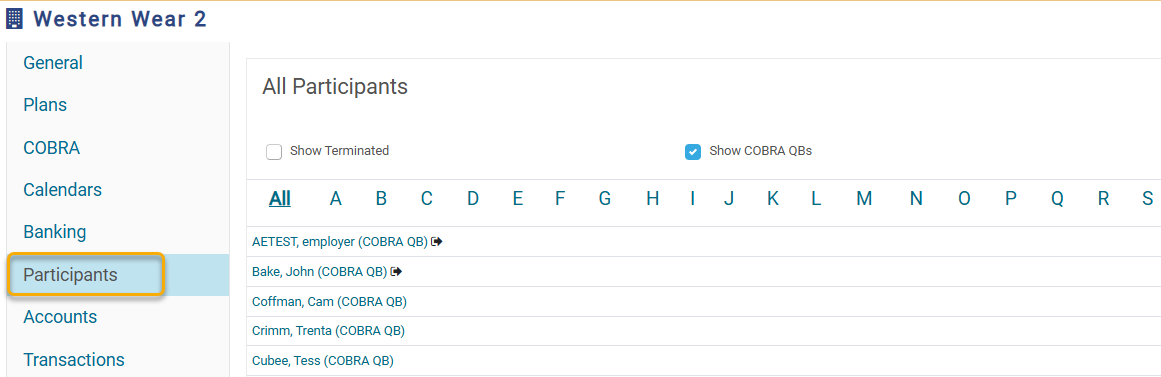
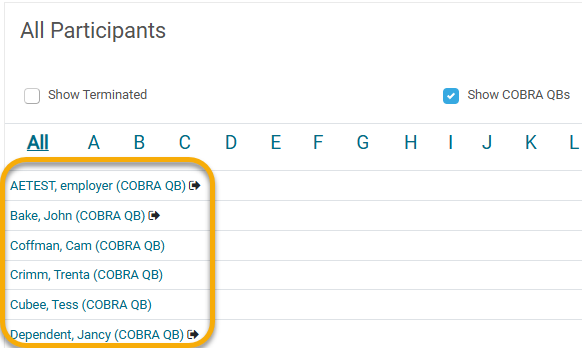
3. Locate the member by their last name, then click on their name to open their profile.
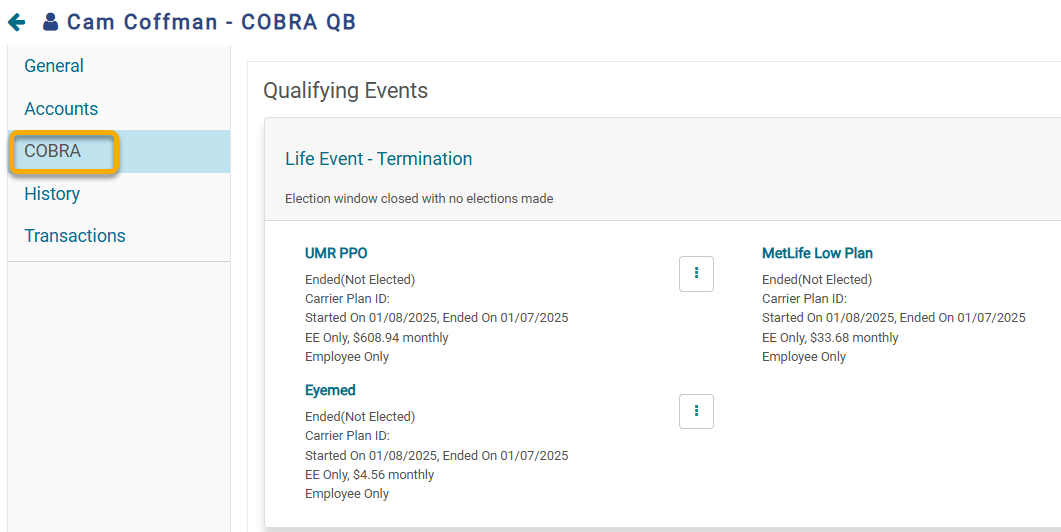
4. While on the member’s profile, click on the COBRA tab on the left-hand side of the page.
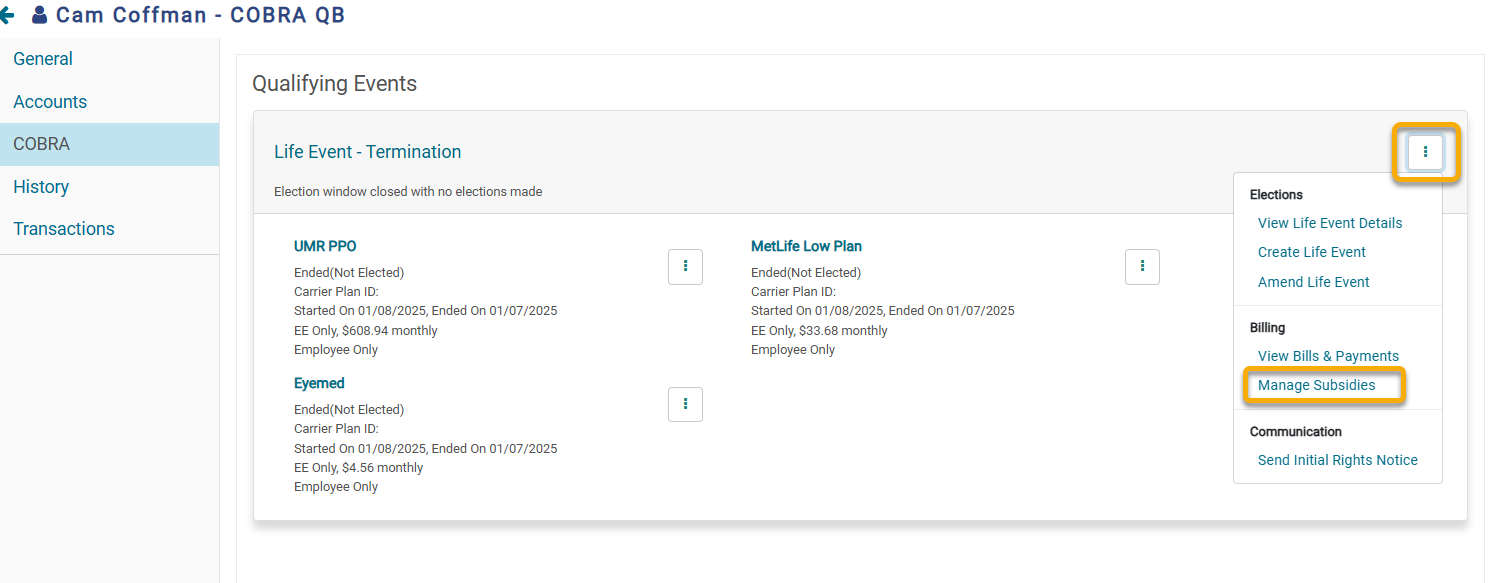
5. Click on the three-dot ellipsis in the top right corner. From the drop-down menu, select the Manage Subsidies option under Billing.
6. Click the + Add Subsidy button in the upper-right corner.

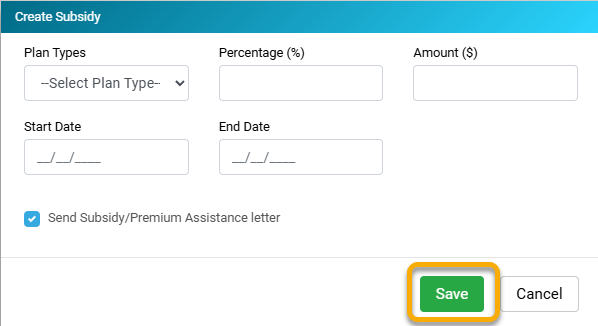
7. On the Create Subsidy pop-up screen, fill out the requested fields. The created subsidy can be based on a percentage or dollar amount. Once completed, click Save.
You have successfully entered a subsidy for a Qualified Beneficiary!